Showing posts with label Kids Meals. Show all posts

Wednesday, 12 November 2014

Carrot, Apple & Coconut Muffins and Cakes

Ok, I'm worst food blogger ever! There's a good way to start!  Hopefully I can redeem myself with this ridiculously easy but delicious recipe!


I think I keep putting off posting recipes because I don't have photos of all of the steps in the process of the recipes. I LOVE recipes with photos of every step. But with 3 kids under foot, the days of me having the opportunity to take step by step photos of everything I make are few and far between.  So, rather than putting off sharing recipes any further, I now will endeavour to post a recipe even if I only have one photo of the finished product *gasps in horror!!!!*.  I also don't have that much to say, so the future posts may be short and sweet but will be documenting recipes I've made and loved. Keep it simple stupid! And as my friend Claire says - you're not building a piano!!!!  This little blog can be a recipe journal with a photo here and there. Onwards and upwards!

So, here's a recipe that I've made about a dozen times in the past year. A firm lunchbox favourite. Extremely adaptable!  You can make it as muffins or as larger cakes.  I made it as for my little Lady Babycake's first birthday cake. It's delicious! When I'm just making it for lunchboxes, I lower the maple syrup amount but for birthday cakes, I use the full amount. You don't have to use spelt flour or any wholemeal if you don't want to, but I tried it with spelt flour (regular and wholemeal combination) and it's my fave!!!! I'm converted!!!  For any info on the health benefits of spelt, I suggest you google and look for your own evidence. I'm happy that it's a healthier option and even happier that it's also tastier!  I just bought it from Woolworths - the Macro brand (not sponsored, just saw it and bought it!).

Next time I'm going to try it with coconut flour.  Not because I'm gluten free or in to fad food, but I love experimenting with different products and wheat free baking is good for a change. I've been using coconut flour lots lately and love it. Makes for super tasty and non dry cakes and muffins.

Whilst I'm on the topic, here are a couple of further thoughts on fad foods and wholefoods. I, clearly, love to cook. I also love to bake sweet things. But with 3 kids 5 and under, I'm getting more and more mindful of what foods are better choices for them and for me.  There are lots of fad foods out there at the moment. Some are awesome, some are gross! Um, maca powder - ewwwwww!!!!  I know it's supposed to be awesome but I can't stand it!  The approach I am taking with 80-90% of the food in our house is wholefoods. Fruit, vegetables, meat, chicken, fish, nuts, legumes, dairy, grains etc. The best quality and freshest we can afford, grow and/or find. No food groups are excluded, but different choices are being experimented with. For example, I no longer use vegetable oil, instead I use proper butter, extra virgin olive oil and cold pressed, unrefined coconut oil. It's not about fat, it's about how wholesome it is.  Less processed sugar is also happening. But I can assure you that I have not jumped on the "I quit sugar" bandwagon! Fruit is awesome. Maple syrup is delicious! And sometimes, you just NEED to make salted caramel brownies jam packed full of refined sugar!!!! ;-) I could continue to ramble on about this, but I won't. Instead, I will introduce you to these 3 awesome ladies:

- No nonsense nutrition guru Katie180. Visit her blog or follow her on Facebook for some little pearls of wisdom.  No extremes and loads of interesting information.  Plus she likes cake :-)

- The fabulous Heidi at Apples Under My Bed is a dietitian who loves to eat and cooks the most delicious food. I've made lots of her recipes and I'm inspired daily by her instgram feed.  A fellow Melbournian and an awesome chick.

- Bianca at Wholefood Simply has so many straight forward but gorgeous recipes- particularly baked goods with healthier ingredients.  I made her coconut bread in muffin form yesterday and they were awesome!

All 3 blogs are full of really ace recipes that are delicious, simple and mostly wholesome without any deprivation!

Ok, what was I saying earlier about having nothing to say?!?! See why I don't blog very often?! I start rambling.

Here's the recipe! Finally!

Carrot, Apple & Coconut Muffins and Cakes

Ingredients:
150 grams of spelt flour
100 grams of spelt wholemeal flour
80 grams (1 cup) of coconut
3 teaspoons of baking powder
80grams of cold pressed, unrefined coconut oil, melted
3 eggs, lightly whisked
75-125ml of pure maple syrup (not the imitation stuff!) depending on your preference.
3 carrots, grated (squeeze some of the juice out and discard or drink it!)
2 apples, grated (same as with the carrot juice!)


Method:
- Preheat oven to 160 degrees
- Mix all of the ingredients together with a wooden spoon.  That's how easy this recipe is!


- pour in to patty pan cases or lined and greased (with coconut oil) cake tins


For muffins/cupcakes - bake for approximately 15 minutes depending on the size you use - I make about 36 medium muffins from this recipe usually but have also made larger ones and mini ones.  Once the muffins are golden and cooked all the way through, they're done.  Here's some photos of the muffin version that are a regular lunchbox item for my kiddos.


For larger cakes - bake for approximately 30-40 minutes. I made 3 small, flat cakes with this recipe ready to be stacked with maple cream cheese frosting - yummo!!!!  Here's some pics of the cake as seen at Lady Babycakes First Birthday.


I hope you try these and love them as much as we do!

I shall endeavour to post another recipe soon….I have about 20 waiting in the wings...

Love Amy xoxo

Sunday, 21 July 2013

Nut Free Chocolate Protein Balls

Hello lovely folks!

Apologies for the radio silence around here. Head over to Instagram if you'd like to see my misadventures on a more regular basis!

Just a quickie today.  Mostly because they were a hit and I don't want to forget what I chucked in!!!


I've been seeing LOADS of chocolate protein balls (also called Bliss Balls or Amaze Balls) on Instagram over the past 6 months or so. I decided I needed another high protein snack for my kinder boy's lunch boxes and for my preschooler who doesn't love healthy food yet so I like to add some super charged foods in to the mix. And I wanted it to be nut free for kinder.

I consulted my gorgeous friend Amelia (you can find her recipe here) and from there I concocted this version based on the ingredients I had on hand and my boys favourite seeds.

My 4.5 and 2.5 year olds made these with me. Mr 4.5 rolled them out really quite well. Mr 2.5 chose to eat the mixture with a spoon instead ;-)  They had a great time making them and they both loved the taste!  We have 3 little ones packed for kinder tomorrow and the rest are in the freezer for quick snacks in the future.


Nut free chocolate protein balls

Ingredients:
- 1.5 cups of dates (Medjool if available)
- 1/2 cup sunflower seeds
- 1/2 cup pumpkin seeds
- 1/2 cup Quinoa flakes
- 1/2 cup coconut
- 1/2 cup raw cacao powder (this is different to cocoa!)
- 3 Tablespoons Chia seeds
- 2 Tablespoons Linseed
- 4 Tablespoons Tahini
- 2 Tablespoons Coconut oil
- 2 Tablespoons of 100% pure Maple syrup (you can omit this if you like, I decided to add it this time for extra sweetness but I will try it without too and see.  I wanted to ensure Mr 2.5 ate these and I'm ok with him having maple syrup.)


Method:
Blitz all together in food processor. The consistency should be like wet, grainy sand so that it can come together in to a ball. Not runny and not dry. Add a touch of liquid (tahini, maple syrup or water) if you need more moisture or some more Quinoa flakes if you need it to be drier.

Roll in to balls.

Keep in the fridge or freezer in air tight container.

Mr 4.5 rolling amongst the pencils and Mr 2.5 eating the mixture with a spoon!


Mr 4.5's good work.


Done! Yum!!! 


-------------------------------------------------

I'll try to post my recipes more regularly on here! I have a quinoa, oat, apple & raspberry muffin recipe and my home made muesli bar recipes that I've been wanting to post, not to mention Mr 4's birthday party post from last October!!!  I'll get them up over the next few weeks now that I'm in the swing of this 3 kids business!!!


Love Amy xoxo

Friday, 2 November 2012

Happy Birthday Mr 2!xoxo

Apologies for the vast number of weeks between posts!!!

If you'd like to keep up with my regular goings on, follow me on Instagram {The Misadventurous Maker} or on Facebook - see the link over to the right.  I'm brand new on Facebook so come and say hello so it's not so quiet over there!x

It's been party central around here with both of my boys having birthdays and little parties.  I'm sure you can imagine I've been having fun!!!! :-)


Mr 2 was first.  My little Babycakes.  What a funny little person he is! Just adorable and cheeky and adventurous and extremely entertaining. And he LOVES cake!!! Which we only discovered when he turned 2.  There's been a lot of cake around here over the past few weeks!

I decided to reuse the pom poms and bunting decorations from his 1st birthday party.  I'm still obsessed with yellow and grey and I'm happy to reuse the decorations after putting a lot of time in to making them. This batch has now done 3 birthday parties and the play room *may* have had the decorations up for an entire year!!!!


It was only a small party but I knew I had a bigger party only a few weeks later for Mr 4, so I decided to make a lot of the food ahead and in bulk and freeze it. This turned out to be extremely handy as the day before Mr 2's party, he fell sick and we had to reschedule for the following week. I was very happy to not have any wasted food as it was all still safe and sound in the freezer and the fresh food hadn't yet been prepared!

Menu:


\


Mini pizzas - margarita and roasted pumpkin.

Pizza dough recipe from here.  I LOVE semolina in my pizza bases.  The sugo was basically pureed tomatoes, fresh basil, garlic and a splash of red wine vinegar and salt and pepper.  The pumpkin was simply sliced and roasted with olive oil and salt and pepper.

They freeze wonderfully and I made about 100 mini pizzas to cater for both parties as well as some other sizes for our dinner and some individual ones for Mr 4's lunchboxes.


Green cheese rolls.
Basically using up an abundance of silverbeet from our garden!!! Mr 2's favourite form of vegetable.  It's similar to the recipe in this post, but without the ricotta. Recipe to follow next week hopefully!!!  These also freeze really well and make for fab lunchbox food. I made a huge batch of teeny tiny ones to cater for both parties.


Zucchini pancakes/fritters.
I made these the day before but you can definitely make them ahead and freeze them.  I used the recipe from this post for the kids and for the adults I added lemon zest, salt, pepper and mint and served them hot with some sour cream and chives on top.


Watermelon star pops.
My friend Claire put me on to these a couple of years ago and I make them regularly! There could not be an easier or cuter way of serving fruit!! I love that you can make it ahead. Mr 4 had fun helping me make them.  Served on a piece of foam wrapped in tissue paper.  I forgot to put these out on the food table but they ended up being a great palate cleanser for the kids after cake!!!


Strawberry cups.


Puffed corn cups.


Lemon water bottles.


Thank you gifts.
A simple balloon on a stick and some jelly play dough. The recipe for play dough was adapted from the the lovely Cat's recipe which you will find here (I swapped out the vinegar for cream of tartar.)  Jars were recycled ones I already had.


Cake.
I LOVE this cake. It was really simple to make and the kids loved it.  The design is from the Donna Hay Kids Magazine from this year. I actually used my mum's trusty chocolate cake recipe and instead of the chocolate ganache for the icing, I used Donna's amazing butter cream frosting.  But the concept was the same.


And the most important part of the day - Mr 2 had a ball!!!! He was such a funny birthday boy and ended up with a chocolate butter cream beard from blowing his candles out.  It was a very small gathering, but a lovely little celebration for my amazing boy.  I love you babycakes!!!!


Love Amy xoxo

Tuesday, 12 June 2012

Cauliflower and Cheese Fritters


Instagram is a dangerous space when you're hungry. It's full of lots of yummy inspiration!

The loverly Cat posted a photo of cauliflower fritters the other week and I HAD to make some. I'm completely obsessed with cauliflower at the moment - roasted cauliflower soup with crispy sage and hazelnuts as well as this yummy roasted cauliflower, baby carrot and goats cheese dish, and Cat's Cauliflower Dhal.. As the craving hit, there was no time to request and wait for recipes, so after googling a few recipes (this one in particular was my basis) this is what I came up with.  I really wanted to emulate the classic cauliflower and cheese dish of my childhood, and I achieved that with the ooziness of these yummy fritters.  I also couldn't decide if I wanted roasted  cauliflower or steamed, so I did both! The roasted is more nutty and the steamed more soft and traditional. You can choose whichever you prefer - both were delicious.

I declare this my new favourite home cooked lunch!!!!

Cat and I decided to both post our cauliflower fritter recipes today and link up for Fritters with Friends! Well, Cat is calling it "fritters two ways", but as I've already mentioned, I like CHEESE!!!! ;-)

Here is my version:

Cauliflower and Cheese Fritters with Labne and Mint.

Ingredients:
  • 1 small cauliflower or 1/2 a large head of cauliflower - roughly half a kilo
  • 2 eggs
  • 80 mls of milk
  • 2/3 cup of plain flour
  • 1.5 teaspoons of baking powder
  • 3/4 cup of grated mozzarella cheese
  • 1/2 cup of finely grated Parmesan cheese
  • a couple of shakes of ground cumin
  • ground pepper
Directions:
  • Cut cauliflower in to small florets and roast them drizzled with olive oil and salt and pepper at 180 degrees Celsius for 17-22 mins or until lightly browned and tender  (depending on the size you've cut them) - turn them around half way through so all sides get browned.  OR steam them for a few minutes in a double boiler until just tender.  OR do a combination of both!  Allow to cool.

  • Whisk together eggs and cheeses and milk and lightly whisk in flour, baking powder, cumin and ground pepper to taste.


  • Stir through the cooled cauliflower.  It's a very thick batter, not runny like pancakes.

  • Heat a large pan over medium-high heat and add a small amount of olive oil.

  • Once the oil is hot, dollop large spoonfuls and cook for a few minutes on each side until crispy and golden brown on the outside and the filling has puffed up.


  • Drain on paper towel

  • Sprinkle with sea salt and serve them hot with labne and fresh mint.*
  • My kinder boy enjoyed these cold in his lunch box.
  • These freeze really well too - just reheat from frozen by wrapping them in baking paper and putting them in a 180 degree oven for 20 minutes turning half way through.  Uncover them for the last 5 minutes.


Oozy, stretchy cheese goodness!!!


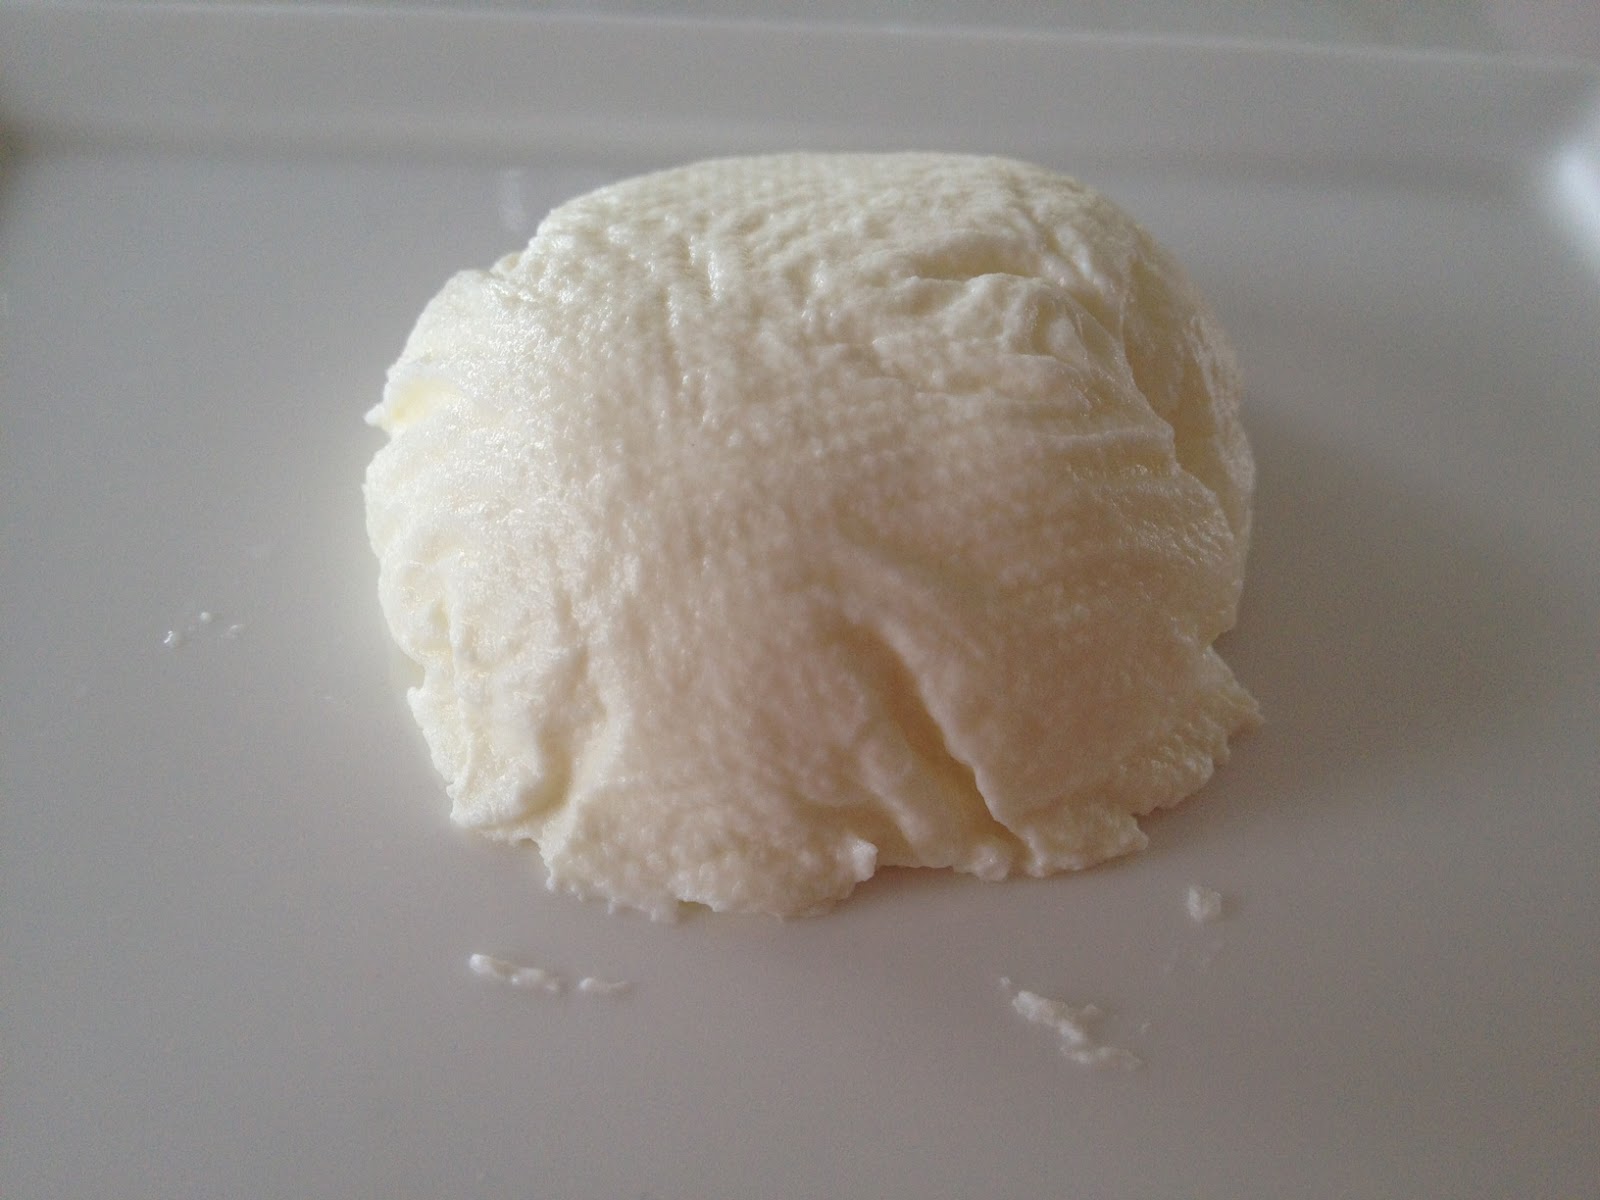
*Note - to make labne, just put some paper towel in a small sieve over a bowl and fill with natural yoghurt that has had some sea salt stirred through it. Cover with more paper towel. Allow to sit in the fridge overnight, or if you're impatient like me, just do it for 20 minutes on the bench while the fritters are cooking. ;-)


You can find Cat's recipe here - I'm hanging to see her version that inspired my new favourite lunch!

Enjoy!

Love Amy xoxo