On Thursday I was having one of those days. You know the type. When you're home with two littlies who are super cranky and you all end up in a funk. I needed a creative outlet, and my creative inkling always leans more towards the cooking side of things. We were having friends over for dinner on Saturday night and I didn't have a clue what to make. They are the best kind of friends who don't care what's for dinner or how messy your house is, but I always like to make a dinner gathering an opportunity for me to cook up a storm!!! Lacking any inspiration, I turned to my Pinterest boards and my favourite blogs to find something to spark my interest.
One of the first food/style blog's I discovered was
Eat Drink Chic which was created by another Amy. I fell in love instantly with Amy's blog. I especially loved her post about
her surprise wedding and the
ice cream parlour. Her gorgeous Ice Cream Parlour was the inspiration for this.
About half way through, I decided that I needed to also package up the extra supplies in the vein of
this pin for my friend Claire - always an enthusiastic recipient of pretty and yummy parcels. This allowed me to get crafty as well as bake and share the love. (Thanks Claire for sending through a couple of your photos to add to this!)
I had a ball making all of the bits and pieces to go in to the Ice Cream Bar. Friday was a very fun day - I pottered in the kitchen, baking and styling a little party while the boys played pretty happily. Mr 3 helped and incessantly asked to taste things. I was a bit mean and didn't actually allow him to sample anything except one teaspoon of ice cream while we were preparing! So here is what I made.
Vanilla Bean Ice Cream
I was considering making a few different ice cream flavours, but decided to stick to vanilla and have a variety of toppings and sauces. I've linked to the fabulous
David Lebovitz several times here already. He is the blogging ice cream guru! His book The Perfect Scoop is brilliant. I, unfortunately, don't have a copy although I've bought it as gifts for several people so have read their copies. It's on my Christmas wishlist!!! I used David's vanilla ice cream recipe - you can find it
here. It was a simple and extremely delicious and smooth ice cream. Far from plain old vanilla that you buy at the supermarket! My husband has requested this become a staple in our freezer from now on!
Raspberry Frozen Yoghurt for the kids
I've spoken briefly before about sugar and my kids. I'm ok with them having some but not loads and I much prefer it to be in the variety of food that I've made myself, or with them. Less preservatives and additives. Mr 3 (nearly Mr 4) made this almost completely on his own! I couldn't find the recipe I used for this last summer so don't have a link, but here is how we made it:
Ingredients:
- 1 litre of greek or natural yoghurt (unflavoured and full fat)
- 1/2 - 1 cup of golden castor sugar (we used 1/2 a cup as it was only for the kids but it may not be sweet enough for you, so just taste it as you go and add more if you like)
- 3/4 cup of raspberries (I use the frozen variety and let them defrost before adding them)
- 200 mls of full cream milk
Directions:
- Whisk all ingredients together until well incorporated
- Refrigerate until very cold
- Churn in ice cream maker
As this doesn't have a high fat content, it's very solid once frozen, but if you leave it out of the freezer for a little while just before serving, it becomes smooth.
Sauces
Being obsessed with all things peanut butter (and all things chocolate for that matter), I had to make Nigella's
Chocolate Peanut Butter Fudge Sauce. It's all kinds of incredible!!! And extremely fast.
Another Nigella gem, this
Sticky Toffee Sauce is ridiculously rich but really smooth and yummy.
Toppings
I decided to do a combination of homemade and store bought toppings.
Having made ice cream, I had 5 egg whites at my disposal and I loved Eat Drink Chic's use of meringues in her ice cream buffet. I used
this recipe from Taste as a basis and I made half of them in to mini meringues and made the other half in to larger raspberry meringues with the addition of the juice of some crushed raspberries. The larger ones were less stable and solid due to the extra liquid, but they were still tasty. There were lots of extras so popped them in jars for some lovely friends to sample.
I made this Martha Stewart
Almond Brittle recipe and crushed half of it to make praline and kept the other half in shards. Really yummy for a caramelly, nutty crunch!
I have a stash of raw cookie dough in my freezer in a few diffferent flavours. Yes, it's kind of dangerous but also handy when unexpected visitors pop over for a cuppa - fresh cookies in 12 minutes! I baked a few milk and white chocolate chip cookies and crumbled them up for a crunchy topping. They were very yummy! I will post my go to cookie recipe soon - it deserves it's own post!
I had some really nice waffle cones in large and mini sizes and some mini marshmallows and a variety of sprinkles already so they were a nice easy option.
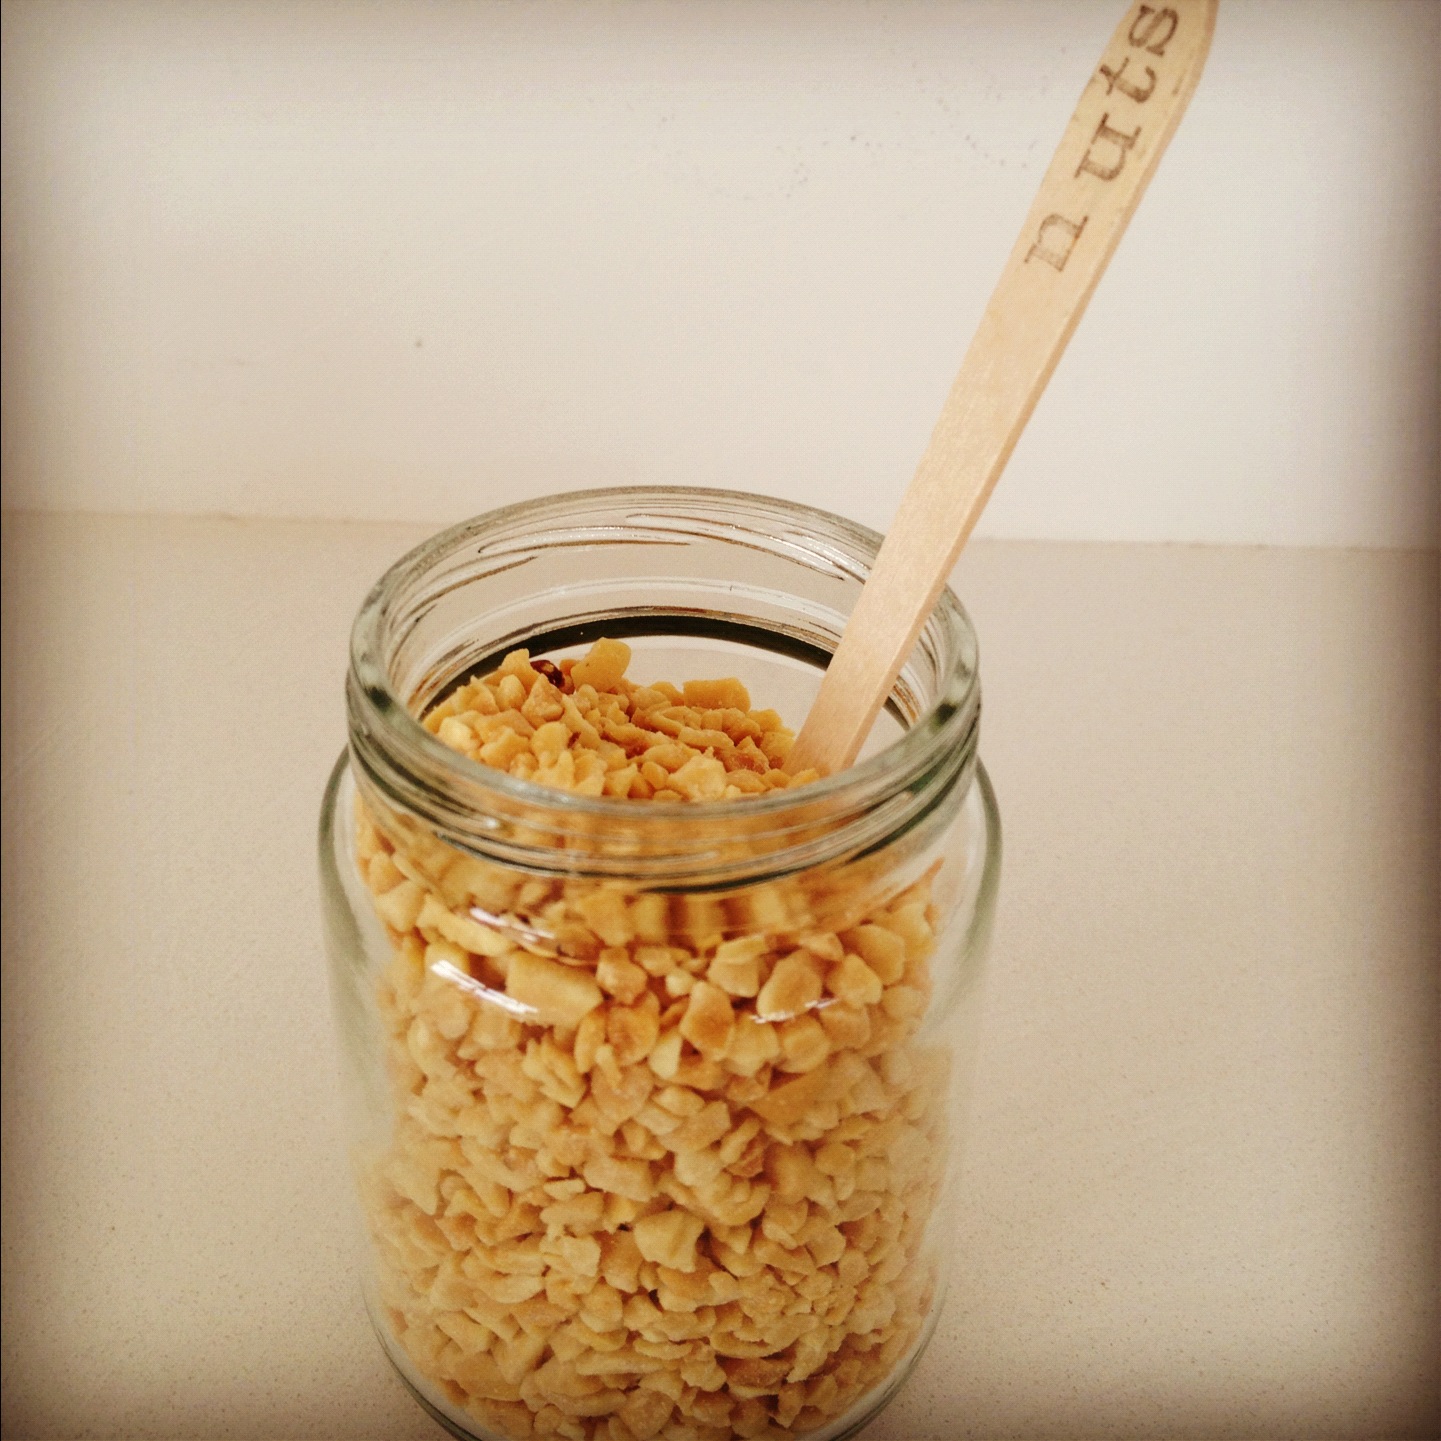
I bought some mini wafer sticks which were yum and cute, some mini m&m's and some crushed peanuts.
The Ice Cream Bar
I used a mini stamp set to write the names of each item on to mini spoons. I got this idea from
this pin. I can't tell you how satisfying this was!!!!! Can I pretend that Mr 3 made the messy ones though?! ;-)
I plated most items up the day before and when our friends were here all I had to do was heat up the sauces and take the ice cream out of the freezer. This is a winning feature these days as I am usually wrangling the boys and getting them ready for bed around the same time, plus I like to spend the time chatting with my friends rather than cooking while they are here.
Mr 3's selection - he was allowed to choose 2 toppings and he was very understanding considering the vast range of sugary offerings!!!! Mr 1 just had the frozen yoghurt but loved it. He kept giggling with happiness!!!
I displayed the mini cones in a small ice cream dish filled with sprinkles and in some shot glasses filled with sprinkles - who knew my old shot glasses would come in handy again!!! I think the last time I used them for a party it was for vodka jelly shots - whoa, how times have changed!!! ;-)
The mini cones are such a fabulous size! I used a melon baller to get the mini scoop size.
A couple of selections from the grown ups.
The Ice Cream Care Package
Using little clear bags, I packaged up the toppings in to little parcels. I put both the sauces, almond brittle and mini meringues in little jars, topped them with a paper doily and some cute twine. I stamped some little spoons and added them to the box and stamped the box lid and finally added the ice cream at the last minute.
Where to find
I purchased all of the items I use in my cooking - I have no sponsorship or brand partnerships at this stage. However, I thought some of you may be interested where I find some of the bits and pieces I use so here is a little list. Many of these items I already had in my beloved party, gifts and craft cupboard that has been collected over many years and a couple of items I purchased recently.
Twine & Syrup Jug -
Emerald & Ella
Cake Box & clear food storage bags -
Lomards
Jars - my own and collected by helpful friends and family members to add to my collections
Doilies, mini wooden spoons -
Chef's Hat
The larger ice cream sundae bowls & yellow straws -
General Trader
The shallow ice cream bowls -
House
Large ice cream cones -
Ritchies
Mini ice cream cones -
Oasis Bakery
The end result of the Ice Cream Party was delicious and enjoyable, but it was even more fun making all of these items and packaging up the care pack - a lovely diversion and a fun project to share with my 3 year old. A slightly odd expression of creativity perhaps, but thoroughly enjoyable!!!!
Anyone for a scoop?!
Love Amy xoxo