Showing posts with label Kids Cooking. Show all posts

Sunday, 25 January 2015

Zucchini, cacao and seedy muffins

Hello!

We currently have a MASSIVE zucchini crop and I'm putting them in basically everything.  Crumbed zucchini, chicken and veggie lasagna, mexican chicken and veg, roasted zucchini soup, stuffed zucchini flowers etc etc.  My kids are about to head back to school and kinder (sob!!!) so it's time to start filling the freezer.  I'm trying to use more coconut flour lately just to give us some variety from wheat flour.  After googling I found this recipe and changed it up to make it nut free and also added extra seeds on top and make use of what ingredients I had on hand.  These are full of protein and will keep my little busy bees going during their long days at school and kinder.


My 4 year old is super fussy with what he eats, but he picked the zucchini from the garden and helped me make these and he loved them! Whoo hoo!


Zucchini, seed and cacao muffins

Ingredients:
- 1 cup of seed butter (I used half sunflower seed butter and half tahini because I had half a jar of each on hand)

- 1 cup of finely grated zucchini (liquid squeezed out)

- 2 eggs

- 1/3 cup maple syrup

- 4 tablespoons of coconut flour

- 2 tablespoons of chia seeds

- 1.5 tablespoons of raw cacao

- 1 teaspoon of baking powder

- sunflower seeds to sprinkle on top


Method:
- preheat oven to 170 degrees celcius

- line your muffin tray with paper cases - this recipe makes approximately 12 large muffins, or 18 smaller medium sized ones

- mix together seed butter, eggs & maple syrup until no lumps are left - I used the kitchen mixer

- gently stir in coconut flour, chia seeds, cacao, baking powder and zucchini until smooth

- fill cup cake cases half full with mixture 

- top with a sprinkling of sunflower seeds


- bake at 170 degrees for 15-18 minutes depending on the size of your muffins


Enjoy!!!!

Love Amy xoxoxo

Sunday, 21 July 2013

Nut Free Chocolate Protein Balls

Hello lovely folks!

Apologies for the radio silence around here. Head over to Instagram if you'd like to see my misadventures on a more regular basis!

Just a quickie today.  Mostly because they were a hit and I don't want to forget what I chucked in!!!


I've been seeing LOADS of chocolate protein balls (also called Bliss Balls or Amaze Balls) on Instagram over the past 6 months or so. I decided I needed another high protein snack for my kinder boy's lunch boxes and for my preschooler who doesn't love healthy food yet so I like to add some super charged foods in to the mix. And I wanted it to be nut free for kinder.

I consulted my gorgeous friend Amelia (you can find her recipe here) and from there I concocted this version based on the ingredients I had on hand and my boys favourite seeds.

My 4.5 and 2.5 year olds made these with me. Mr 4.5 rolled them out really quite well. Mr 2.5 chose to eat the mixture with a spoon instead ;-)  They had a great time making them and they both loved the taste!  We have 3 little ones packed for kinder tomorrow and the rest are in the freezer for quick snacks in the future.


Nut free chocolate protein balls

Ingredients:
- 1.5 cups of dates (Medjool if available)
- 1/2 cup sunflower seeds
- 1/2 cup pumpkin seeds
- 1/2 cup Quinoa flakes
- 1/2 cup coconut
- 1/2 cup raw cacao powder (this is different to cocoa!)
- 3 Tablespoons Chia seeds
- 2 Tablespoons Linseed
- 4 Tablespoons Tahini
- 2 Tablespoons Coconut oil
- 2 Tablespoons of 100% pure Maple syrup (you can omit this if you like, I decided to add it this time for extra sweetness but I will try it without too and see.  I wanted to ensure Mr 2.5 ate these and I'm ok with him having maple syrup.)


Method:
Blitz all together in food processor. The consistency should be like wet, grainy sand so that it can come together in to a ball. Not runny and not dry. Add a touch of liquid (tahini, maple syrup or water) if you need more moisture or some more Quinoa flakes if you need it to be drier.

Roll in to balls.

Keep in the fridge or freezer in air tight container.

Mr 4.5 rolling amongst the pencils and Mr 2.5 eating the mixture with a spoon!


Mr 4.5's good work.


Done! Yum!!! 


-------------------------------------------------

I'll try to post my recipes more regularly on here! I have a quinoa, oat, apple & raspberry muffin recipe and my home made muesli bar recipes that I've been wanting to post, not to mention Mr 4's birthday party post from last October!!!  I'll get them up over the next few weeks now that I'm in the swing of this 3 kids business!!!


Love Amy xoxo

Friday, 2 November 2012

Happy Birthday Mr 2!xoxo

Apologies for the vast number of weeks between posts!!!

If you'd like to keep up with my regular goings on, follow me on Instagram {The Misadventurous Maker} or on Facebook - see the link over to the right.  I'm brand new on Facebook so come and say hello so it's not so quiet over there!x

It's been party central around here with both of my boys having birthdays and little parties.  I'm sure you can imagine I've been having fun!!!! :-)


Mr 2 was first.  My little Babycakes.  What a funny little person he is! Just adorable and cheeky and adventurous and extremely entertaining. And he LOVES cake!!! Which we only discovered when he turned 2.  There's been a lot of cake around here over the past few weeks!

I decided to reuse the pom poms and bunting decorations from his 1st birthday party.  I'm still obsessed with yellow and grey and I'm happy to reuse the decorations after putting a lot of time in to making them. This batch has now done 3 birthday parties and the play room *may* have had the decorations up for an entire year!!!!


It was only a small party but I knew I had a bigger party only a few weeks later for Mr 4, so I decided to make a lot of the food ahead and in bulk and freeze it. This turned out to be extremely handy as the day before Mr 2's party, he fell sick and we had to reschedule for the following week. I was very happy to not have any wasted food as it was all still safe and sound in the freezer and the fresh food hadn't yet been prepared!

Menu:


\


Mini pizzas - margarita and roasted pumpkin.

Pizza dough recipe from here.  I LOVE semolina in my pizza bases.  The sugo was basically pureed tomatoes, fresh basil, garlic and a splash of red wine vinegar and salt and pepper.  The pumpkin was simply sliced and roasted with olive oil and salt and pepper.

They freeze wonderfully and I made about 100 mini pizzas to cater for both parties as well as some other sizes for our dinner and some individual ones for Mr 4's lunchboxes.


Green cheese rolls.
Basically using up an abundance of silverbeet from our garden!!! Mr 2's favourite form of vegetable.  It's similar to the recipe in this post, but without the ricotta. Recipe to follow next week hopefully!!!  These also freeze really well and make for fab lunchbox food. I made a huge batch of teeny tiny ones to cater for both parties.


Zucchini pancakes/fritters.
I made these the day before but you can definitely make them ahead and freeze them.  I used the recipe from this post for the kids and for the adults I added lemon zest, salt, pepper and mint and served them hot with some sour cream and chives on top.


Watermelon star pops.
My friend Claire put me on to these a couple of years ago and I make them regularly! There could not be an easier or cuter way of serving fruit!! I love that you can make it ahead. Mr 4 had fun helping me make them.  Served on a piece of foam wrapped in tissue paper.  I forgot to put these out on the food table but they ended up being a great palate cleanser for the kids after cake!!!


Strawberry cups.


Puffed corn cups.


Lemon water bottles.


Thank you gifts.
A simple balloon on a stick and some jelly play dough. The recipe for play dough was adapted from the the lovely Cat's recipe which you will find here (I swapped out the vinegar for cream of tartar.)  Jars were recycled ones I already had.


Cake.
I LOVE this cake. It was really simple to make and the kids loved it.  The design is from the Donna Hay Kids Magazine from this year. I actually used my mum's trusty chocolate cake recipe and instead of the chocolate ganache for the icing, I used Donna's amazing butter cream frosting.  But the concept was the same.


And the most important part of the day - Mr 2 had a ball!!!! He was such a funny birthday boy and ended up with a chocolate butter cream beard from blowing his candles out.  It was a very small gathering, but a lovely little celebration for my amazing boy.  I love you babycakes!!!!


Love Amy xoxo

Tuesday, 29 May 2012

Quick Walnut & Pecan Bread


Despite having made bread many times (favourites being pizza dough, Fat Mum Slim's brioche, and Annabel Langbein's Busy People's Bread), I always feel a bit intimidated by the thought of it.  I'm not sure why though.  If you choose a straight forward recipe, it's actually incredibly simple. And VERY satisfying to eat your own bread!!!  I highly recommend trying Annabel's bread that I've linked above as a super simple but really yummy bread. I make it very often.  One day I invited myself over to my friend Claire's house with both of my kids in tow at and was supposed to stop for bread on the way.  It was literally easier for me to make this bread than to stop at the bakery with my two kids!!!! My 3 year old does most of the making of that bread, just a wooden spoon and bowl recipe.

A couple of weeks ago, the bread queen Phillippa led a bread making masterclass on Masterchef.  She made a walnut bread that looked incredible.  Recipe is here.  The same week was Jamie Oliver's Food Revolution.  Ruth had written a post about it (here) and had also posted a series of photos on Instagram of one of her gorgeous boys baking the walnut bread.  It only took the very first Instgram pic to motivate me to make walnut bread that Saturday morning too!  We had a couple of handful of fresh walnuts that were sitting around waiting to be shelled so it was a perfect craving.

However, I didn't have all of the ingredients (or the patience) for proper bread.  It was already 10:30 and I knew the boys would be starving by 11:30.  I googled a few recipes on my phone and found a recipe by Hugh Fearnley-Whittingstall (from the British show River Cottage).  I still didn't have all of the ingredients for this recipe either, but chose to adapt it and stay in my pjs rather than go to the shops!

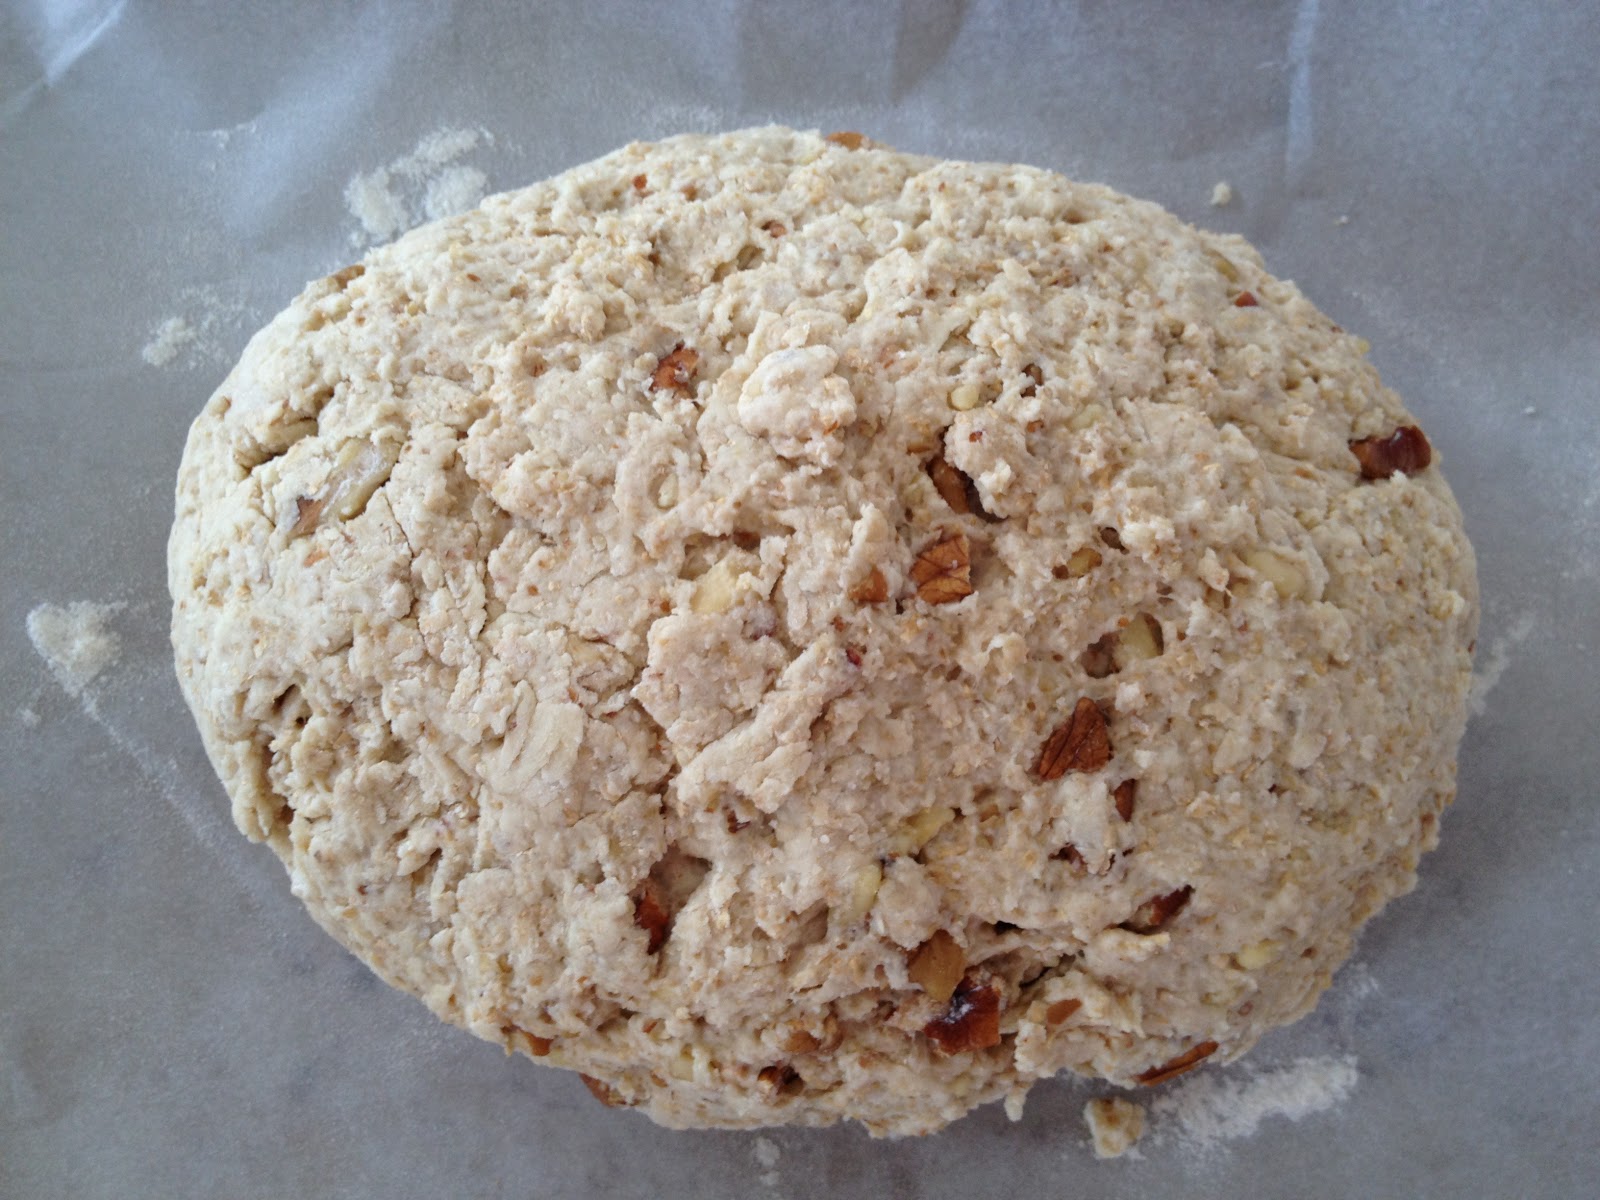
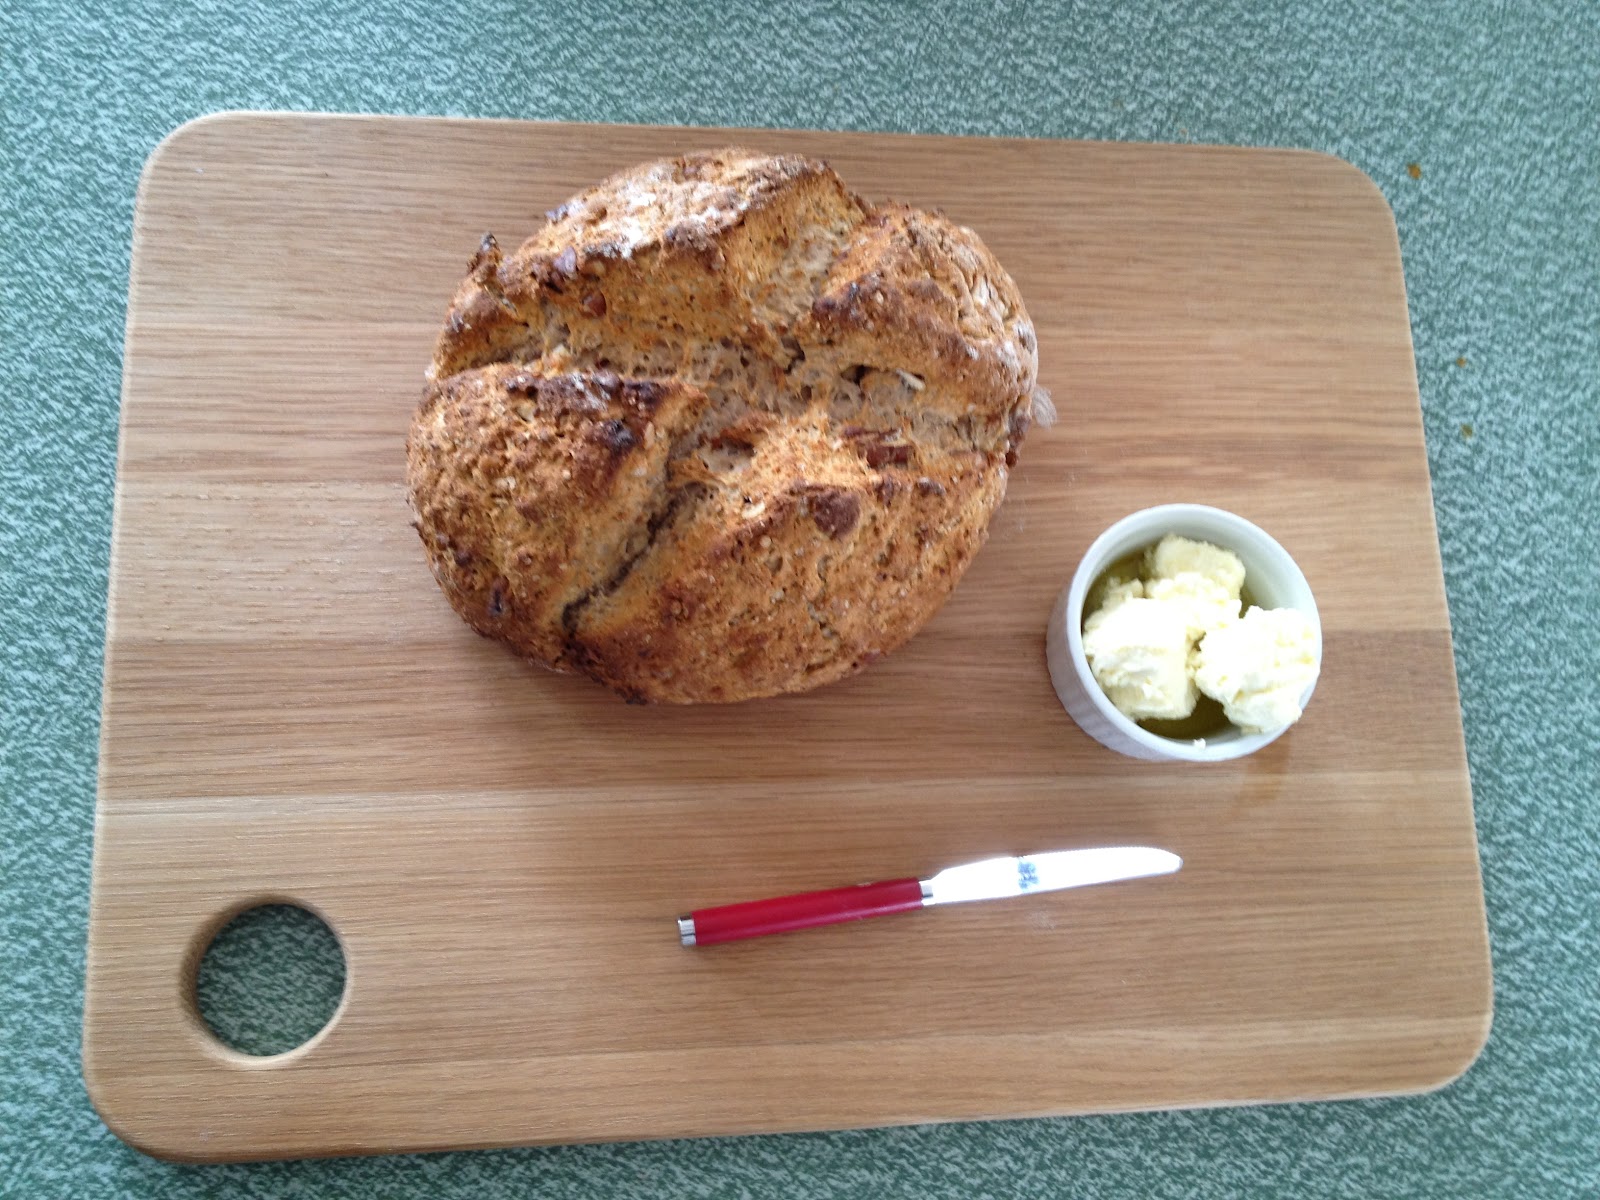
There is no yeast in the bread, so no proving or resting or rising time. It's a sweet bread so I think you could lessen the honey/golden syrup significantly if you wanted to, but the sweetness is lovely.  It's more of a stand alone bread rather than for sandwiches.  Perfect with some special cheese or simply good quality butter.

Here is the version I made with Mr 3.

Quick Walnut & Pecan Bread, based on a recipe by Hugh Fearnley-Whittingstall.

Ingredients:

  • 200 grams of 00 flour
  • 300 grams of wholemeal plain flour
  • 100 grams of walnuts
  • 100 grams of pecans (or any combination of walnuts & pecans or just one of them, whatever you have or whatever you like!)
  • 150 grams of honey or golden syrup (again, you could also do a combination which is what I did.)
  • 4 teaspoons of baking powder
  • 10 grams of salt

Directions:

  • Preheat oven to 190-200 degrees Celsius
  • Put flours & baking powder in a large bowl


  • Heat the honey/golden syrup in a small saucepan with 300ml of water until dissolved (but not hot.)


  • Divide the nuts in to two halves - one half, keep the nuts in chunky pieces


  • For the other half, crush them up in to a rough chunky powder


  • Add both piles of the nuts to the flours & stir well


  •  Add the honey/golden syrup water to the flours and mix gently until combined (but don't over mix)


  • Turn on to a lined baking tray and shape in to a circle or oval


  • Cut two slits quite deeply in to the bread and put in the oven for 30-40 minutes until the bread is brown and well risen. That's it!


  • Serve warm with butter or really lovely cheese. My favourite is marinated feta - YUM!!!  Although my sous chef likes his with jam. :-)


Happy Baking!

Love Amy xoxoxo