Showing posts with label Vegetarian. Show all posts

Sunday, 21 July 2013

Nut Free Chocolate Protein Balls

Hello lovely folks!

Apologies for the radio silence around here. Head over to Instagram if you'd like to see my misadventures on a more regular basis!

Just a quickie today.  Mostly because they were a hit and I don't want to forget what I chucked in!!!


I've been seeing LOADS of chocolate protein balls (also called Bliss Balls or Amaze Balls) on Instagram over the past 6 months or so. I decided I needed another high protein snack for my kinder boy's lunch boxes and for my preschooler who doesn't love healthy food yet so I like to add some super charged foods in to the mix. And I wanted it to be nut free for kinder.

I consulted my gorgeous friend Amelia (you can find her recipe here) and from there I concocted this version based on the ingredients I had on hand and my boys favourite seeds.

My 4.5 and 2.5 year olds made these with me. Mr 4.5 rolled them out really quite well. Mr 2.5 chose to eat the mixture with a spoon instead ;-)  They had a great time making them and they both loved the taste!  We have 3 little ones packed for kinder tomorrow and the rest are in the freezer for quick snacks in the future.


Nut free chocolate protein balls

Ingredients:
- 1.5 cups of dates (Medjool if available)
- 1/2 cup sunflower seeds
- 1/2 cup pumpkin seeds
- 1/2 cup Quinoa flakes
- 1/2 cup coconut
- 1/2 cup raw cacao powder (this is different to cocoa!)
- 3 Tablespoons Chia seeds
- 2 Tablespoons Linseed
- 4 Tablespoons Tahini
- 2 Tablespoons Coconut oil
- 2 Tablespoons of 100% pure Maple syrup (you can omit this if you like, I decided to add it this time for extra sweetness but I will try it without too and see.  I wanted to ensure Mr 2.5 ate these and I'm ok with him having maple syrup.)


Method:
Blitz all together in food processor. The consistency should be like wet, grainy sand so that it can come together in to a ball. Not runny and not dry. Add a touch of liquid (tahini, maple syrup or water) if you need more moisture or some more Quinoa flakes if you need it to be drier.

Roll in to balls.

Keep in the fridge or freezer in air tight container.

Mr 4.5 rolling amongst the pencils and Mr 2.5 eating the mixture with a spoon!


Mr 4.5's good work.


Done! Yum!!! 


-------------------------------------------------

I'll try to post my recipes more regularly on here! I have a quinoa, oat, apple & raspberry muffin recipe and my home made muesli bar recipes that I've been wanting to post, not to mention Mr 4's birthday party post from last October!!!  I'll get them up over the next few weeks now that I'm in the swing of this 3 kids business!!!


Love Amy xoxo

Tuesday, 12 June 2012

Cauliflower and Cheese Fritters


Instagram is a dangerous space when you're hungry. It's full of lots of yummy inspiration!

The loverly Cat posted a photo of cauliflower fritters the other week and I HAD to make some. I'm completely obsessed with cauliflower at the moment - roasted cauliflower soup with crispy sage and hazelnuts as well as this yummy roasted cauliflower, baby carrot and goats cheese dish, and Cat's Cauliflower Dhal.. As the craving hit, there was no time to request and wait for recipes, so after googling a few recipes (this one in particular was my basis) this is what I came up with.  I really wanted to emulate the classic cauliflower and cheese dish of my childhood, and I achieved that with the ooziness of these yummy fritters.  I also couldn't decide if I wanted roasted  cauliflower or steamed, so I did both! The roasted is more nutty and the steamed more soft and traditional. You can choose whichever you prefer - both were delicious.

I declare this my new favourite home cooked lunch!!!!

Cat and I decided to both post our cauliflower fritter recipes today and link up for Fritters with Friends! Well, Cat is calling it "fritters two ways", but as I've already mentioned, I like CHEESE!!!! ;-)

Here is my version:

Cauliflower and Cheese Fritters with Labne and Mint.

Ingredients:
  • 1 small cauliflower or 1/2 a large head of cauliflower - roughly half a kilo
  • 2 eggs
  • 80 mls of milk
  • 2/3 cup of plain flour
  • 1.5 teaspoons of baking powder
  • 3/4 cup of grated mozzarella cheese
  • 1/2 cup of finely grated Parmesan cheese
  • a couple of shakes of ground cumin
  • ground pepper
Directions:
  • Cut cauliflower in to small florets and roast them drizzled with olive oil and salt and pepper at 180 degrees Celsius for 17-22 mins or until lightly browned and tender  (depending on the size you've cut them) - turn them around half way through so all sides get browned.  OR steam them for a few minutes in a double boiler until just tender.  OR do a combination of both!  Allow to cool.

  • Whisk together eggs and cheeses and milk and lightly whisk in flour, baking powder, cumin and ground pepper to taste.


  • Stir through the cooled cauliflower.  It's a very thick batter, not runny like pancakes.

  • Heat a large pan over medium-high heat and add a small amount of olive oil.

  • Once the oil is hot, dollop large spoonfuls and cook for a few minutes on each side until crispy and golden brown on the outside and the filling has puffed up.


  • Drain on paper towel

  • Sprinkle with sea salt and serve them hot with labne and fresh mint.*
  • My kinder boy enjoyed these cold in his lunch box.
  • These freeze really well too - just reheat from frozen by wrapping them in baking paper and putting them in a 180 degree oven for 20 minutes turning half way through.  Uncover them for the last 5 minutes.


Oozy, stretchy cheese goodness!!!


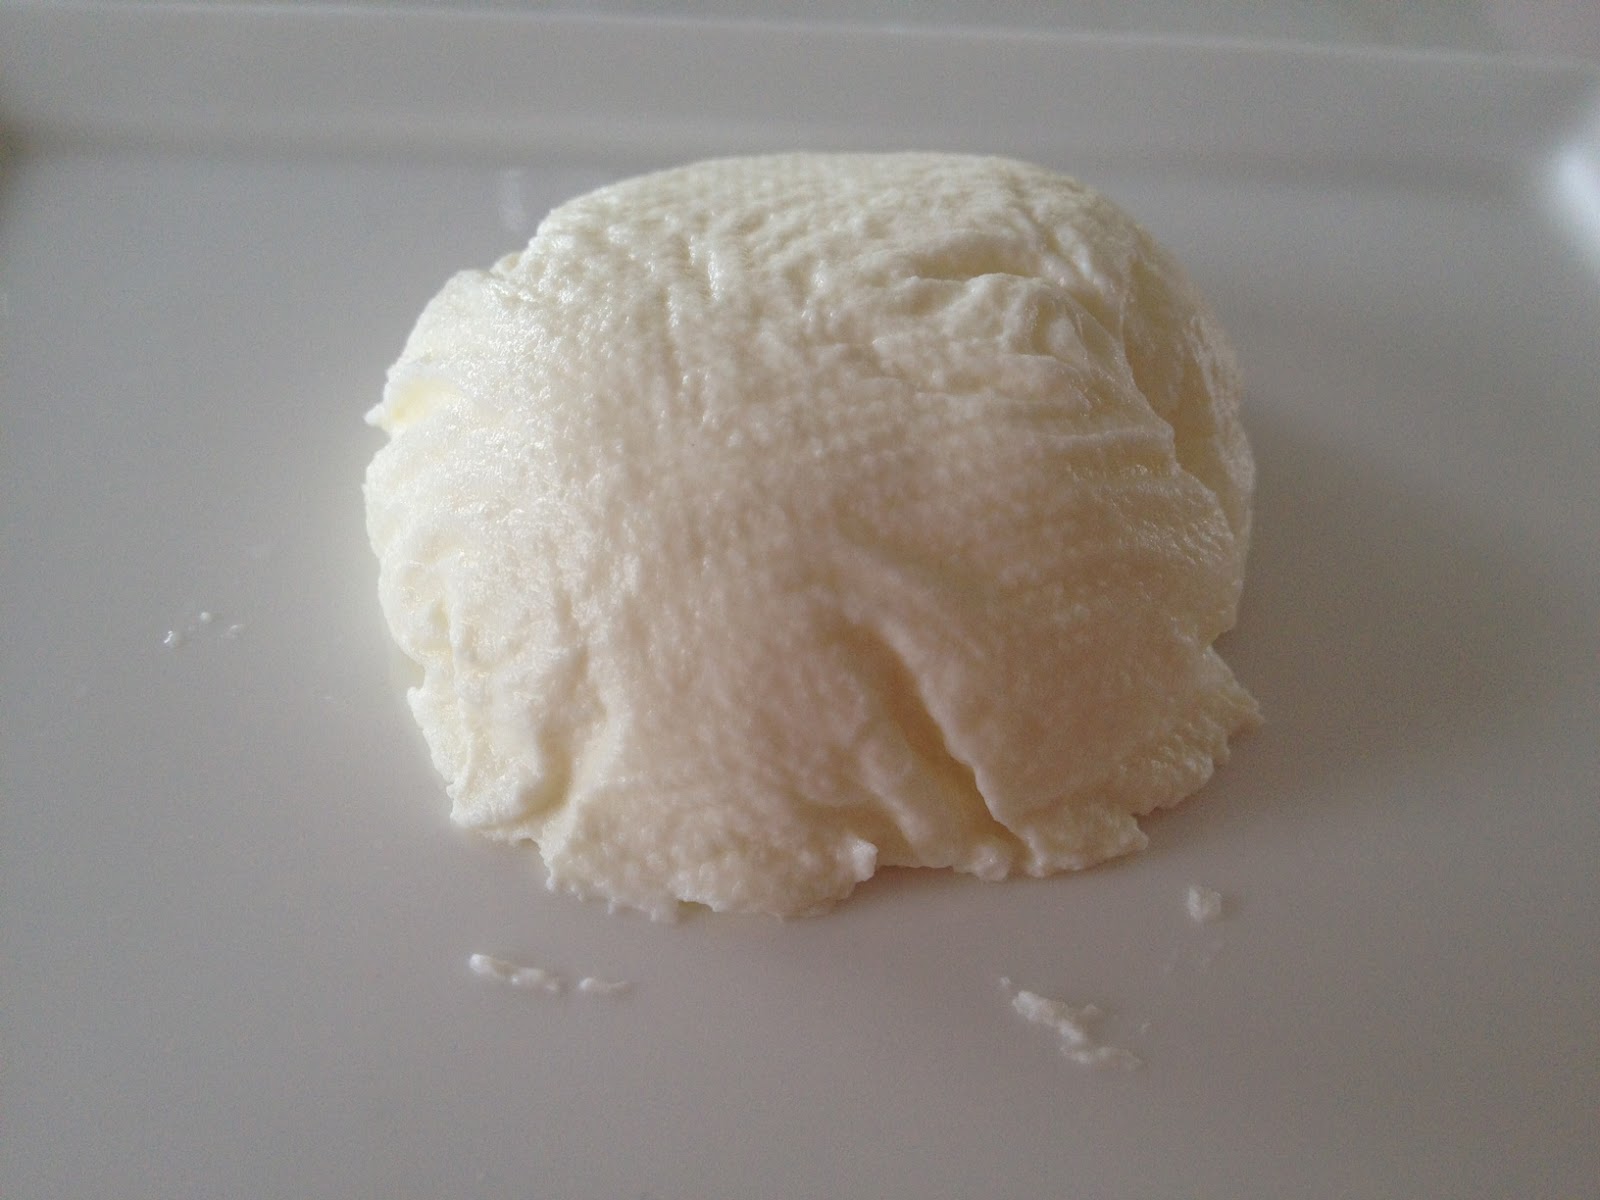
*Note - to make labne, just put some paper towel in a small sieve over a bowl and fill with natural yoghurt that has had some sea salt stirred through it. Cover with more paper towel. Allow to sit in the fridge overnight, or if you're impatient like me, just do it for 20 minutes on the bench while the fritters are cooking. ;-)


You can find Cat's recipe here - I'm hanging to see her version that inspired my new favourite lunch!

Enjoy!

Love Amy xoxo

Monday, 7 May 2012

Roast Pumpkin & Pine Nut Lasagna


This is one of my favourite recipes.  I often vary it greatly and have outlined some options below the recipe.  Adding other veggies or changing the "white sauce" are all good variations.  You can definitely make it lower in fat with some of the variations too - eg using low fat ricotta and less mozzarella and Parmesan, roasting the veggies in just a tiny bit of oil spray instead of liberal amounts of olive oil.  I usually do make it lower in fat when I make it for a regular family dinner, but this version is the tastiest and most rich and pumpkiny in my opinion.

Ingredients:
- Lasagna sheets - I either use the dried instant ones or make my own fresh - I don't think the "fresh" from the supermarket are as good for this recipe (although I've used them several times). I like the thickness of the dried, instant ones and the al dente texture which you can't really achieve with fresh pasta.
- 2 very large pieces of pumpkin - I usually use 2 different varieties - this time I used Kent and Grey.
- 3 whole garlic cloves, unpeeled
- 12 fresh sage leaves, washed and dried
- good quality olive oil
- a few good handfuls of freshly grated, good quality Parmesan cheese
- 300 grams of grated mozzarella
- 180 - 250g mascarpone - (I had a 250g tub which I'd already used some of for another recipe. If you're only using the mascarpone for this recipe, then you use the entire tub so as not to waste it.)
- raw pine nuts

Method:
- preheat oven to 200 degrees Celsius
- peel and cut the pumpkin in to large chunks and scatter on two oven trays lined with baking paper
- add the garlic cloves (unpeeled), drizzle with olive oil and sprinkle with sea salt and ground pepper & roast for 20 minutes


- Turn the pumpkin around, add the sage leaves and drizzle with more olive oil if needed
- When the pumpkin is well roasted and the sage is crispy, remove from the oven and turn it down to 180 degrees Celsius


- set aside the crispy sage leaves


- squeeze the garlic out of the skins and discard the skins
- roughly mash the pumpkin and garlic together with a fork


- finely crumble the sage leaves and mix through the pumpkin


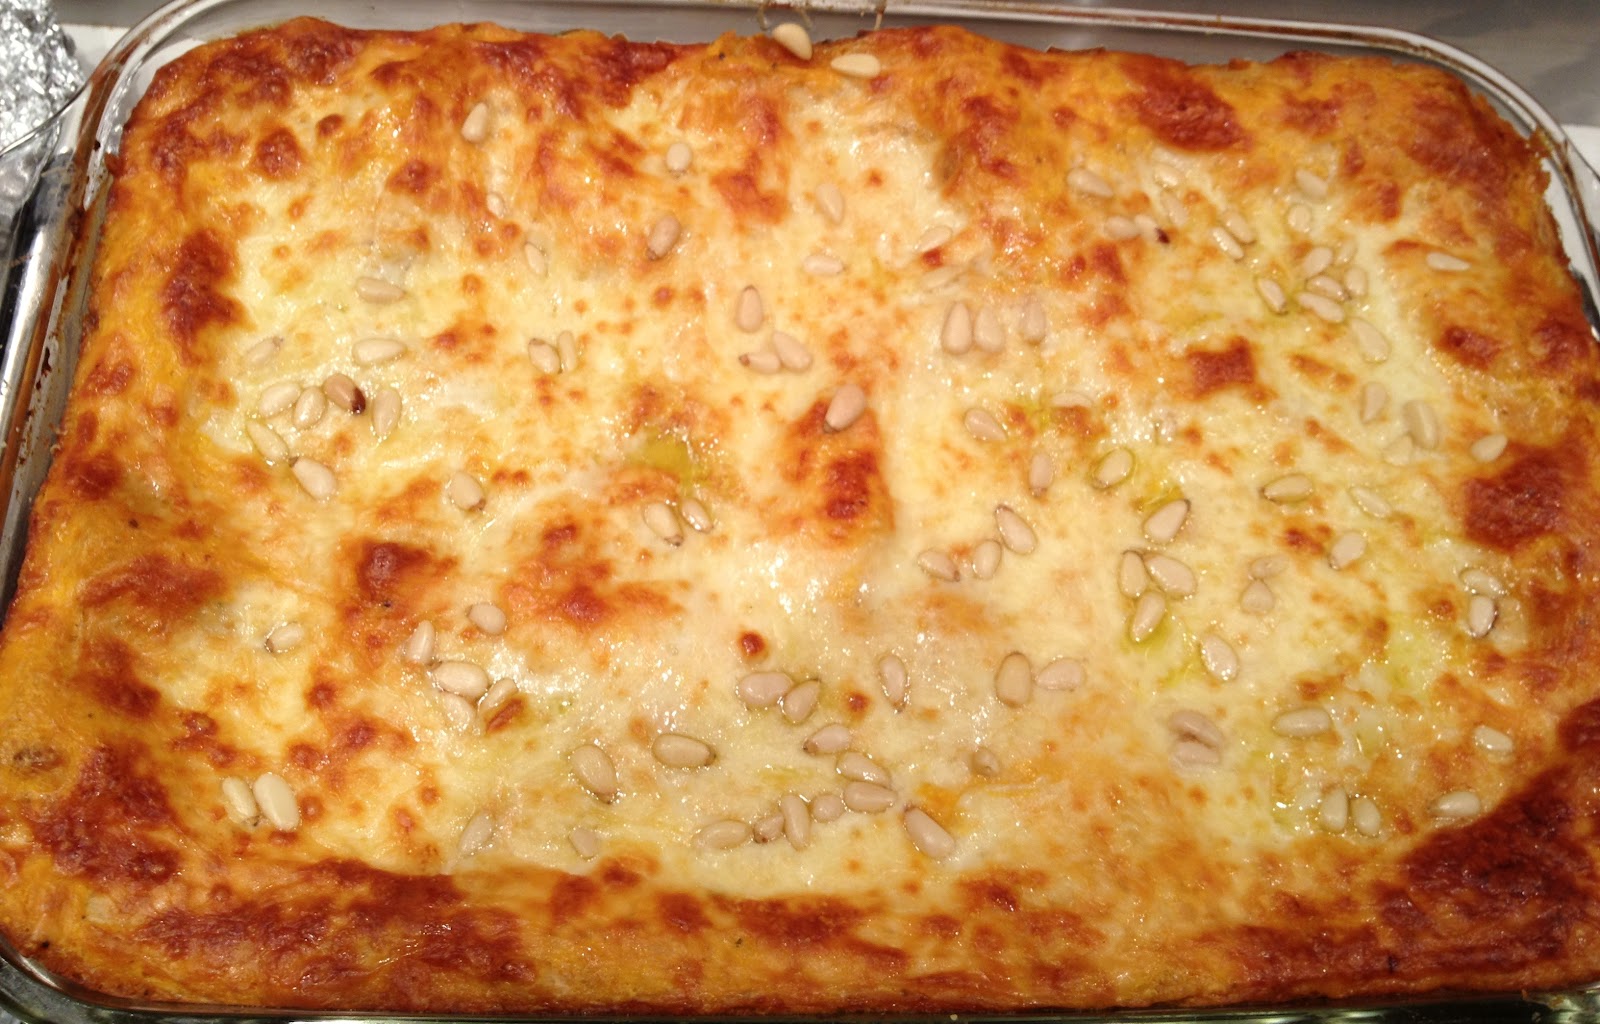
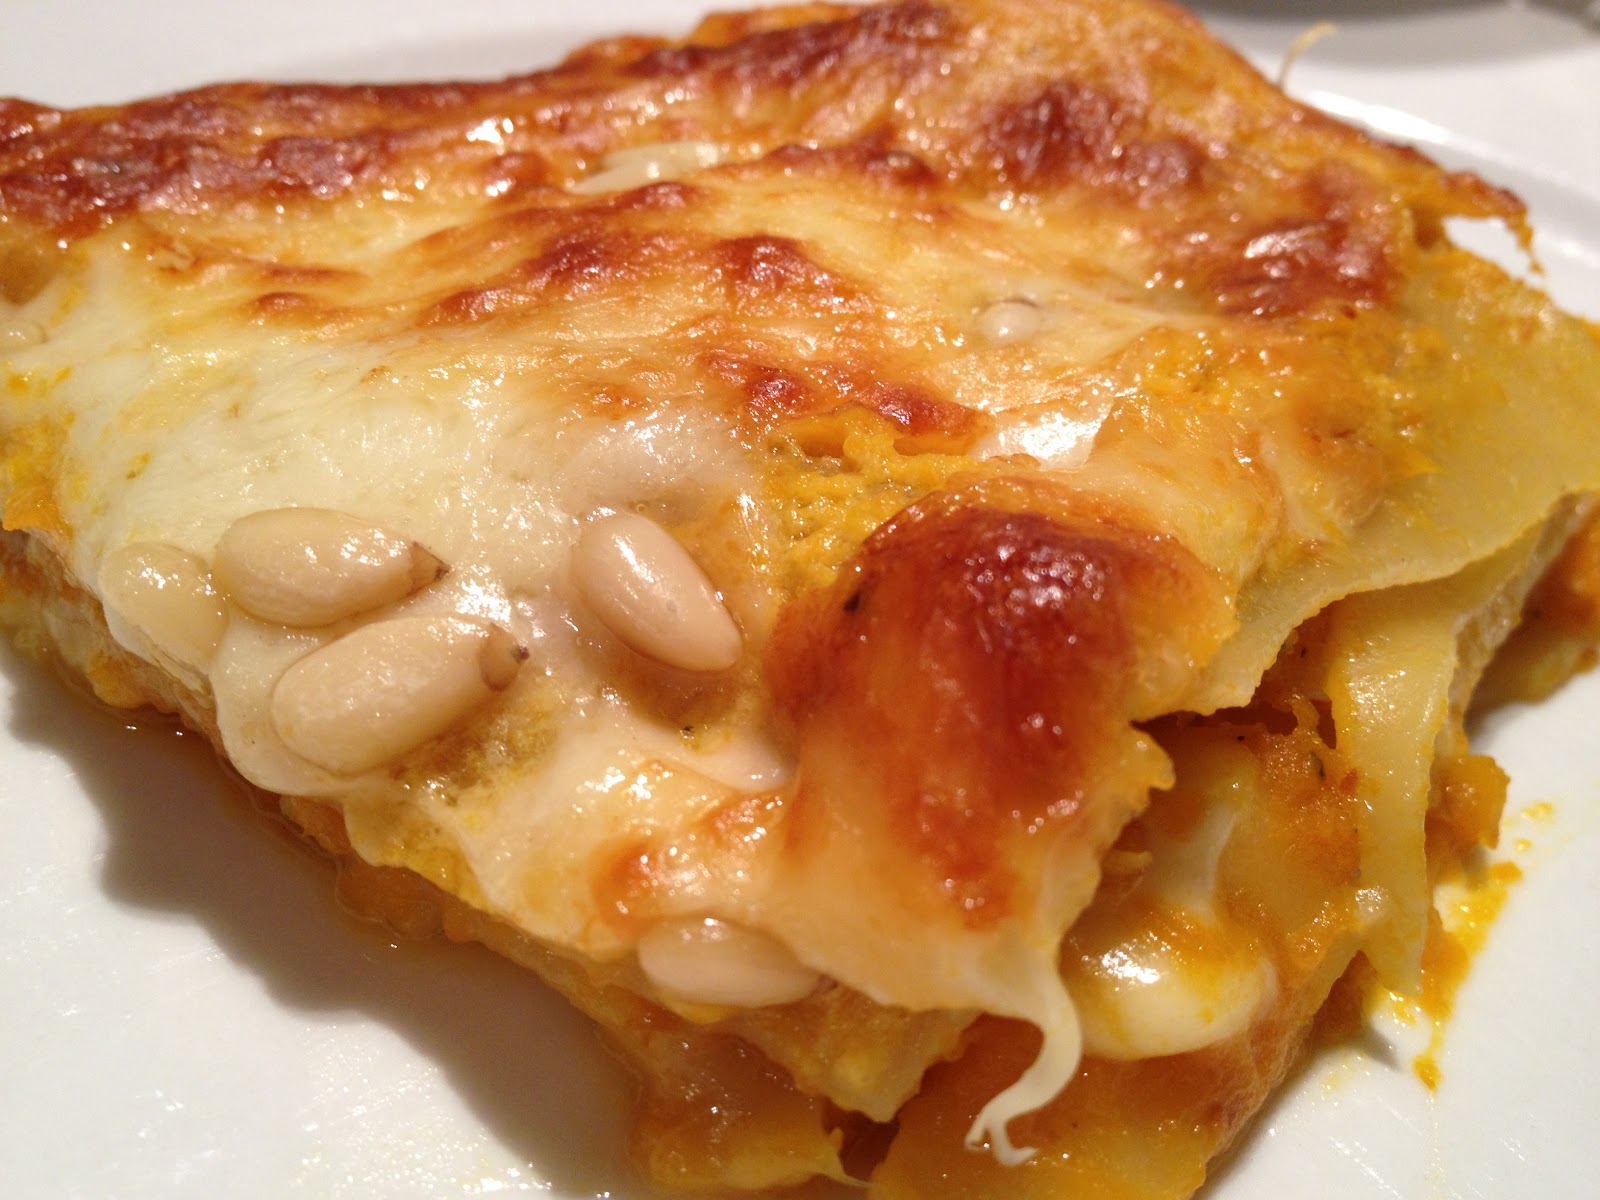
- *important* Add some water to your mashed pumpkin so it's runny. You need the extra moisture so the lasagna sheets have enough liquid to cook them through and so the final dish isn't too dry. I used probably about 180mls this time as I used dried instant lasagna sheets.  If you're using homemade fresh lasagna sheets then you'd only need to add a little bit of water to loosen the mixture.  You can see the difference in texture in the above photo and the one below.
- divide the pumpkin in to 3 decent sized portions and 1 smaller, half sized portion
- spread a layer of the pumpkin mixture on the bottom of your dish and top with one layer of lasagna sheets


- add another layer of pumpkin mixture, this time add a large handful of mozzarella and Parmesan cheese before you add another layer of lasagna sheets


- another layer of pumpkin and lasagna sheets
- spread the final, smaller amount of pumpkin mixture over the top lasagna sheets, add the mascarpone cheese and spread evenly (the mixture will become a pumpkin and mascarpone combination rather than two separate layers)


- top with lots of mozzarella and Parmesan, drizzle with a bit of olive oil, cover with baking paper and foil and bake in 180 degree oven for 45 minutes


- remove the baking paper and foil and bake until starting to lightly brown (approximately another 10 minutes)
- scatter the pine nuts on top and bake until browned


- serve hot on it's own or with a rocket salad.  It's even better the following day and it freezes very well.


Variations:
- add a layer of thinly sliced half moons of roasted zucchini
- add a layer of balsamic roasted cherry tomato halves
- add a layer of wilted spinach
- make a traditional white sauce with flour, butter, milk & cheese
- use a combination of ricotta and feta for the "white sauce" layer
- use creme fraiche or sour cream for the "white sauce" layer
- use low fat ricotta and some milk stirred together for a lower fat version


I hope you try this and love it as much as I do!

Love Amy xoxo

Wednesday, 18 April 2012

Faux Mexican Lentil Soup


Firstly, apologies to all Mexican people for this meal. It's certainly not authentic in any way!!!  However, it is delicious, easy and super duper healthy, so hopefully I can be forgiven it's name!!!

I like to cook soup in bulk so I can freeze it in portions for my husband's lunches or for dinner when I don't have time to cook (or can't be bothered!).  You can easily halve this recipe for a more reasonable serving quantity.  It's a thick soup, but feel free to add more stock if you prefer it thinner.

You could definitely make this in a slow cooker if you have one - I have before and it turned out great.  I'm not usually organised enough for this though, so a chuck it in and ready in 40 minutes is more my way. ;-)

Serves 12-16 depending on your portion sizes. (I use the little yellow bowl which is about 1 cup and my husband uses the blue striped bowl which is a standard size so we got about 16 serves, but if you all use standard size bowls, it would be more like 12 serves.)

Ingredients:
- 3-4 carrots
- 2 zucchinis
- 4 cloves of garlic, crushed
- 3 cups of red lentils, rinsed well
- 1 cup of french lentils (or green lentils or whichever other type of lentil you like really - just check cooking time), rinsed well
- 2.5-3 cups of stock (veg or chicken)
- 1.5-3 teaspoons of ground cumin (depending on your spice/flavour preference and if your kids might be eating it.)
- 2 teaspoons of oregano
- 2 teaspoons of paprika
- 1-3 teaspoons of cayenne pepper (depending on your heat preference)
- 2 cans of tomatoes (if using whole ones, which I prefer, chop/mash them up)
- a bag of baby spinach or a bunch of silverbeet


Directions:
- finely chop the carrots and zucchini
- roughly chop the spinach or silverbeet
- saute the carrots in some olive oil for a minute or two (in the photo below you can see that I added the zucchini at the same time, but I prefer to add the zucchini a bit later.)
- add the spices and cook for another couple of minutes


- add the red lentils, hot stock and tomatoes


- cook, covered, on low/medium heat for 15 minutes - stir once or twice
- add the zucchini, spinach and French lentils and cook, covered, for 25-30 minutes - stir occasionally and add extra stock or water if it's getting too thick


- add salt and pepper to taste

Serving suggestions:
- on it's own
- with a dollop of light sour cream
- with a dollop of natural yoghurt
- with some chopped avocado and a squeeze of lemon or lime (and coriander if you are that way inclined - I'm not!!!)
- with some natural corn chips on top or on the side - my husband uses a bowl of corn chips as a spoon to eat the whole bowl of soup - his metabolism allows this, mine does not!!!
- or any combination of the above!  My fave is light sour cream and natural corn chips - yummo!!!!


Happy cooking!

Love Amy xoxo

Wednesday, 7 March 2012

Roasted Cauliflower and Baby Carrots with Hazelnuts, Crispy Sage & Goats Cheese

Hi there lovelies,

Apologies for the sporadic posts, but that's kind of the way I think this blog will be!!!

This is a dish I LOVE to make. It's an excellent accompaniment for meat dishes for carnivorous guests, but very yummy and substantial for the vegetable loving folk too.


It was originally inspired by dishes from two of my favourite casual but lovely Melbourne restaurants - Rumi and Birdman Eating.

Again, this is more of a set of directions rather than a proper recipe, but I hope you try it and love it!

Ingredients:
  • 1 head of cauliflower
  • 1 bunch of baby carrots
  • a handful of hazelnuts
  • a small bunch of sage leaves 
  • Marinated goats feta - my favourite brand is Meredith
  • Excellent quality olive oil
Directions:
  • Preheat oven to 180 degrees Celsius
  • Cut the cauliflower into small florets
  • Arrange the cauliflower in a large baking dish (I use my beloved Bessemer!), douse with olive oil, sea salt flakes, cracked pepper and the sage leaves


  • Roast in oven for about 15-20 minutes
  • Meanwhile, scrub the baby carrots & remove any "hairy" bits from the bottom and the long stalks - I keep a bit of the stalk on because they are pretty and I don't peel them


  • Add the baby carrots to the  partially cooked cauliflower, toss well to mix around the cauliflower - the bottom side usually is dark and caramelised. Add extra olive oil as needed. You don't want the mixture to get too dry


  • Roast for another 10 minutes, then check - give it another toss around and return to oven for another 5-10 minutes if needed
  • Meanwhile, roast the hazelnuts, rub off the skins and halve them
  • Combine the veggies in a serving bowl and scatter with the hazelnuts, the marinated goats feta and extra olive oil (or oil from the feta) if needed

  • Serve as part of a help yourself feast! I often serve it with the following dishes:
    • My interpretation of one of my favourite ever vegetarian dishes from another favourite Melbourne restaurant - The Moroccan Soup Bar - chickpea and pita bread bake with yoghurt and almonds.  I shall  endeavour to blog this shortly. This is my ultimate comfort food and I adore it!!!! I love this restaurant soooo much!
    • Warm eggplant & buckwheat salad - a variation of the lovely Emily & Saskia's dish that you can find here.  These ladies have some delicious recipes on their blog - one of our family favourite's is my version, of their version, of Jamie Oliver's cauliflower and broccoli cannelloni. So yummy!!!
    • Crumbed lamb cutlets for the carnivores  
    • Rocket salad (which missed out on being in the photo below!)


Thanks for reading and checking out one of my fave dishes.

Love Amy xoxo